Audio Interface for Windows: How to Choose and Set One
Up
The fastest way to get a working audio interface for Windows is to buy a model whose maker ships a stable ASIO driver, install that driver before you plug the unit in, then select the interface in Windows sound settings and as the ASIO device in your recording software. Set the buffer size to 128 samples, record a test take, and adjust from there. That is the whole process, and each part is covered below.
The trouble is that Windows does not make any of this obvious. Your PC already has a sound card, so it plays music and picks up a headset mic without help. But that built-in path adds delay, has weak preamps, and gives you one mic jack at best. Plug in an interface without the right driver and you get a missing device, crackling, or a guitar that lags behind your fingers.
This guide covers what you need to pick the right model for guitar, vocals, or podcasts, install the driver, connect the hardware, configure Windows and your DAW, and fix the usual problems. RIKIO ROCKS follows new production gear every week, and the advice here comes from the same practical angle: get the signal in clean, get the delay low, and get back to making music.
Why Windows needs an interface with ASIO drivers
An audio interface is an external box that turns microphone, guitar, and line signals into digital audio for your PC, and turns your PC's audio back into sound for monitors and headphones. On Windows, the deciding spec is not the number of knobs but the quality of the driver that connects the box to your music software.
What a PC audio interface does
Your computer's onboard sound chip is built for playback and casual calls. An interface replaces it with better converters, real microphone preamps, an instrument input for guitar, and a headphone output you can monitor on. It also gives you a direct monitoring knob, which lets you hear yourself without waiting for the signal to travel through the computer.
Most interfaces connect over USB, and many are powered by that same cable. Larger units add more inputs, optical connections for expansion, or Thunderbolt for the lowest delay.
Why ASIO is the deciding spec
Windows has several audio paths, including MME and WASAPI. They work for everyday sound, but they add more delay than music software can tolerate. ASIO, a protocol created by Steinberg, skips most of that overhead and lets your DAW talk to the hardware directly. Interface makers write their own ASIO drivers, and the quality of that driver largely decides whether your audio interface for Windows runs smoothly at low buffer sizes.
Some interfaces are class-compliant, meaning Windows can run them with a generic driver and no install. That is handy for quick setups, but without ASIO you will usually get higher delay. The free ASIO4ALL driver is a common fallback for those units.
On Windows, a good ASIO driver matters more than any other spec on the box.
Do you need one?
Use this quick check:
-
You need one if you record an XLR microphone, plug in a guitar or bass, record more than one source at once, or want to monitor yourself without delay.
-
You can skip one if you only listen to music, or you record voice with a USB microphone that has its own built-in converter and headphone jack.
Step 1. Pick an interface your PC can run
Choose the interface by matching its inputs to what you record, then confirm that it has Windows drivers for your version of the operating system and a port your PC actually has. Do those checks before you look at price or brand.
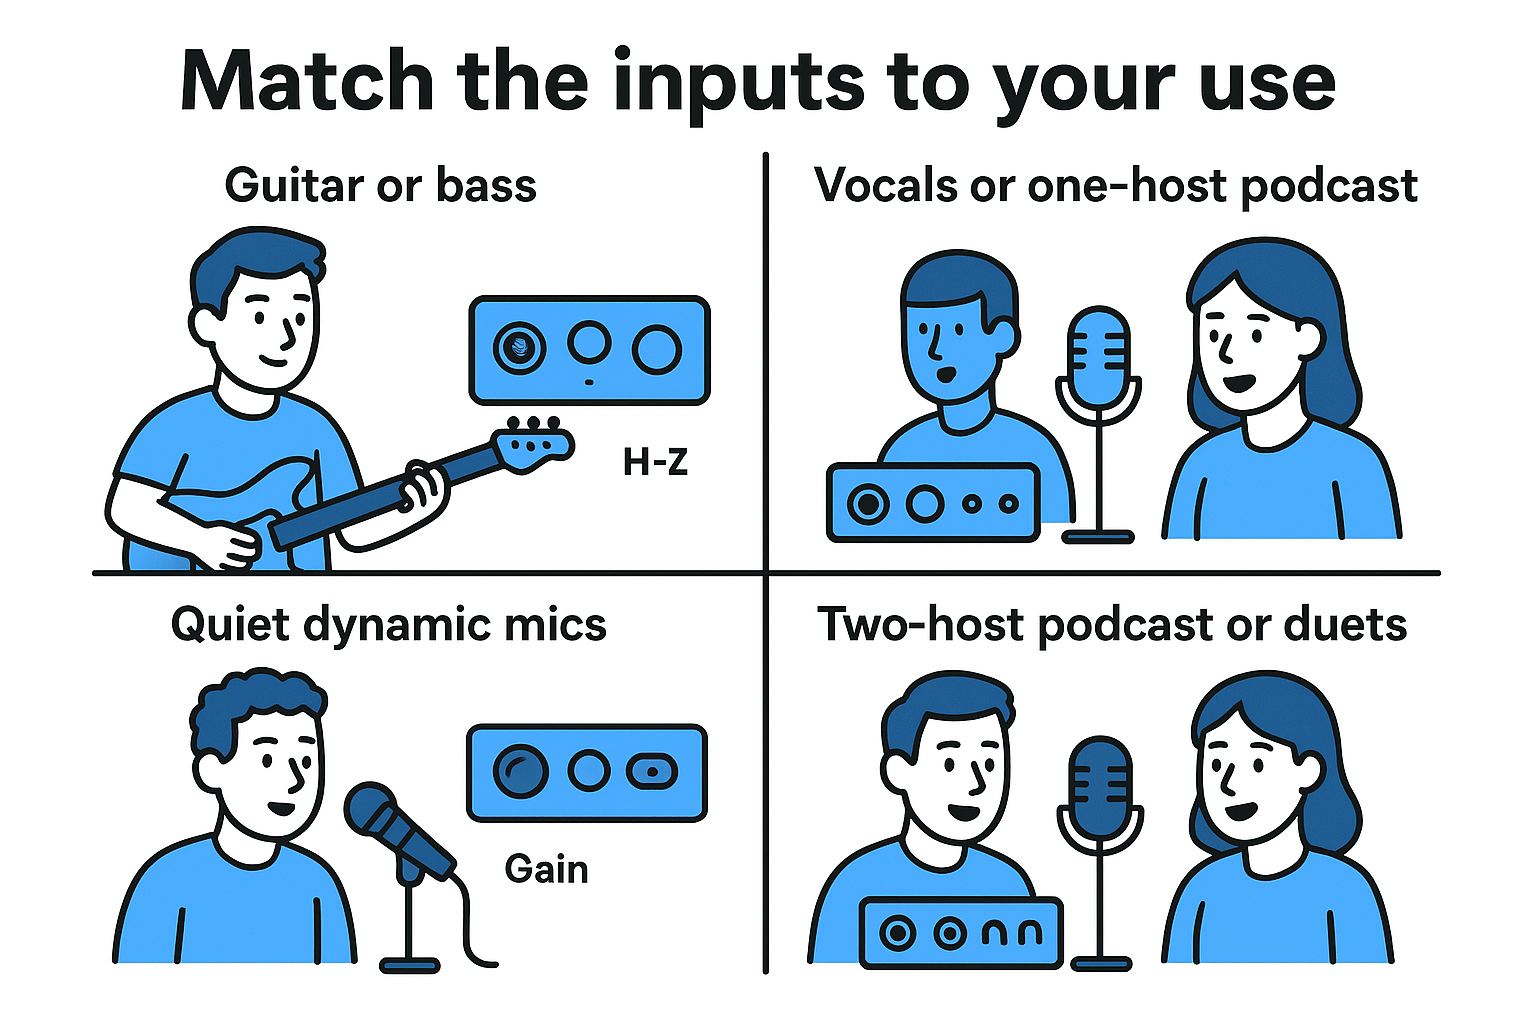
Match the inputs to your use
Count the sources you will record at the same time, then add one spare. A solo guitarist and a podcaster with one host need very different hardware from a band tracking live.
|
What you record
|
What to look for
|
|
Guitar or bass
|
A front-panel Hi-Z instrument input, so the guitar does not sound thin
|
|
Vocals or one-host podcast
|
One XLR input with phantom power (48V) for condenser mics
|
|
Quiet dynamic mics
|
Preamps with plenty of clean gain, ideally 60 dB or more
|
|
Two-host podcast or duets
|
Two XLR inputs and two headphone outputs
|
|
Live performance
|
Rugged build, balanced outputs, and a driver with a record of stability
|
Check drivers and ports before you buy
Open the manufacturer's product page and confirm there is a current Windows driver listed for your version of Windows, ideally with ASIO included. Focusrite, for example, supplies ASIO drivers with its interfaces, and PreSonus, MOTU, Audient, and RME all publish Windows drivers as well. A driver page that was last updated years ago is a warning sign.
Then check the physical side:
-
USB-C or USB-A: Most interfaces use USB. Any modern PC port will run a two to eight channel unit.
-
Thunderbolt: This only helps if your PC has a Thunderbolt port. Many Windows desktops and laptops do not.
-
Bus power: Small interfaces draw power from the USB port. Laptops on battery can struggle with power-hungry units, so a model with a separate power supply is safer for larger setups.
Step 2. Install the driver, then connect
Install the manufacturer's driver first, restart Windows, and only then connect the interface, plugging it straight into a USB port on the computer. This order prevents the most common problem, which is Windows grabbing a generic driver before yours is in place.
Install the driver first
Follow these steps for any ASIO interface:
- Download the latest Windows driver from the manufacturer's website, not from a third-party site.
- If the download is a .zip file, extract it before you run the installer.
- Run the installer and accept any prompts to add a control panel app.
- Restart your PC when asked.
- Connect the interface with the supplied cable, then power it on if it has a power switch.
If you ever need to reinstall, uninstall the old driver, power everything off, restart, reinstall, and reconnect the hardware last.
Connect directly and confirm it shows up
Plug the interface into a port on the PC itself. USB hubs are a frequent cause of dropouts, especially unpowered ones, because the interface and every other device share limited power and bandwidth. If you must use a hub, pick a powered one.
To confirm that Windows sees the device, right-click the Start button and open Device Manager. Look under Sound, video and game controllers (some interfaces list themselves under USB controllers). A yellow warning icon or an "Unknown device" entry means the driver did not install properly, and reinstalling it usually fixes that.
Install the driver before you plug in the hardware, and plug it straight into the PC.
You can also stop Windows from cutting power to USB ports. Open Power Options, edit your plan's advanced settings, and turn off USB selective suspend. This helps an audio interface for Windows stay connected on laptops.
Step 3. Set Windows and your DAW to use it
Select the interface as the default input and output in Windows, then choose its ASIO driver as the audio device inside your DAW. Windows controls what browsers and media players use. Your DAW has its own separate setting.
Choose the interface in Windows sound settings
Go to Settings > System > Sound. Under Output, choose your interface. Under Input, choose it again if you record through it. Then open More sound settings, double-click the interface under Playback, and open the Advanced tab.
- Set the format to 24-bit, 48000 Hz. It is a safe default for music, video, and podcasts.
- Check how exclusive mode is set. If an app takes over the interface and other programs go silent, clear the exclusive control boxes.
Now play any track from your browser. If you still hear your PC speakers, relaunch the browser, because many apps only read the default device when they open.
Select the ASIO driver in your DAW
Every DAW hides this setting in a slightly different place, but the choice is the same: pick ASIO as the driver type, then pick your interface by name.
-
REAPER: Options > Preferences > Audio > Device
-
Ableton Live: Options > Preferences > Audio, then set Driver Type to ASIO
-
FL Studio: Options > Audio settings, then choose your ASIO driver under Output
Once selected, check the input and output routing inside the DAW. An interface can be properly detected and still send audio to the wrong output pair. Arm a track, set its input to the channel your mic or guitar is plugged into, and check that the meter moves.
Step 4. Tune latency and fix common problems
Start with a buffer size of 128 samples, record a short test, and move the buffer up or down until playback is clean and the delay feels natural. Then use the symptom table below if anything still misbehaves.
Set the buffer size
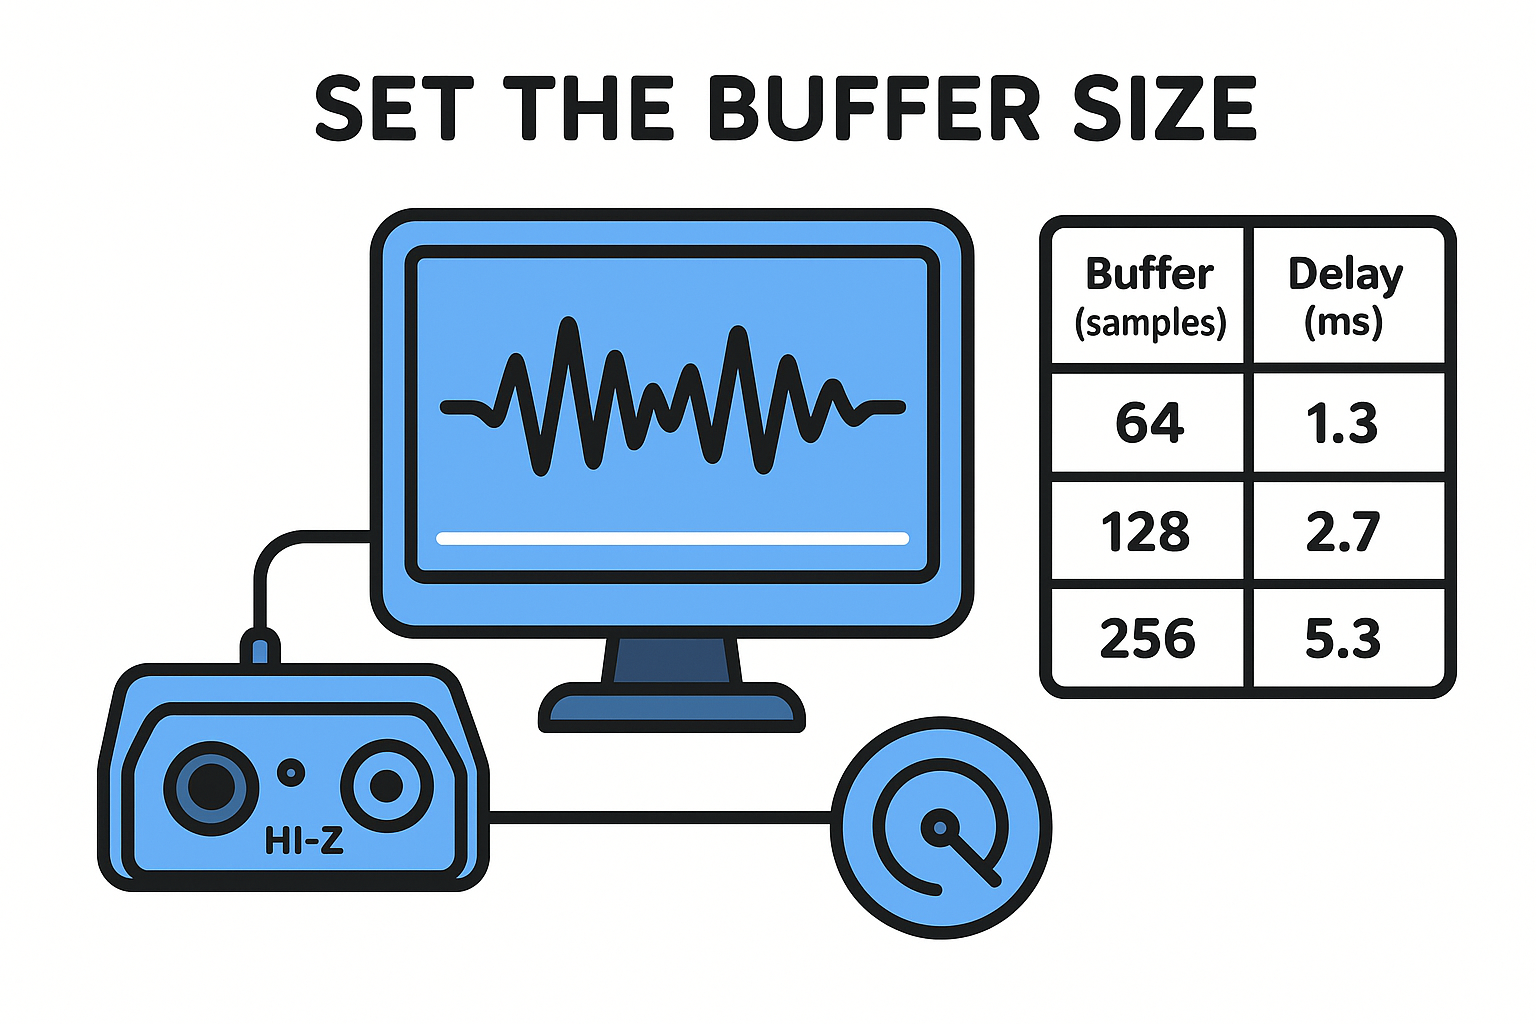
The buffer size is the amount of audio your PC processes at once. Smaller buffers mean less delay but more strain on the CPU, which can cause clicks and dropouts. Here is what each setting means at 48 kHz, one way:
|
Buffer (samples)
|
Delay (ms)
|
Best for
|
|
64
|
1.3
|
Playing live instruments through amp sims, if your PC keeps up
|
|
128
|
2.7
|
Tracking guitar and vocals
|
|
256
|
5.3
|
A good middle ground for most sessions
|
|
512
|
10.7
|
Mixing with many plugins
|
|
1024
|
21.3
|
Heavy mix sessions where timing does not matter
|
Total round-trip delay is higher than these figures because converters add a little more. Drop to 64 or 128 when recording, then raise it when you mix.
Test your first recording
Plug a guitar into the Hi-Z input, or switch on 48V phantom power only if your microphone is a condenser type. Raise the gain until your loudest moment peaks around -12 to -6 dBFS in the DAW and never reaches the red. Put on headphones and use the direct monitoring knob to hear yourself with no delay.
Record a thirty-second test and play it back before you start any real session.
Fix the usual problems
|
Symptom
|
Likely cause
|
Fix
|
|
Interface not detected
|
Driver missing or a bad cable or port
|
Check Device Manager, try another port and cable, reinstall the driver
|
|
No sound from the DAW
|
Wrong ASIO device or output routing
|
Reselect the driver, check the output pair
|
|
No sound from the browser
|
Windows default output is wrong
|
Reset the default device, relaunch the browser
|
|
Crackles or dropouts
|
Buffer too small, hub, or power saving
|
Raise the buffer, plug in directly, disable USB selective suspend
|
|
Stopped working after an update
|
Driver out of date
|
Install the newest driver from the maker, then restart
|
Plug in and start recording
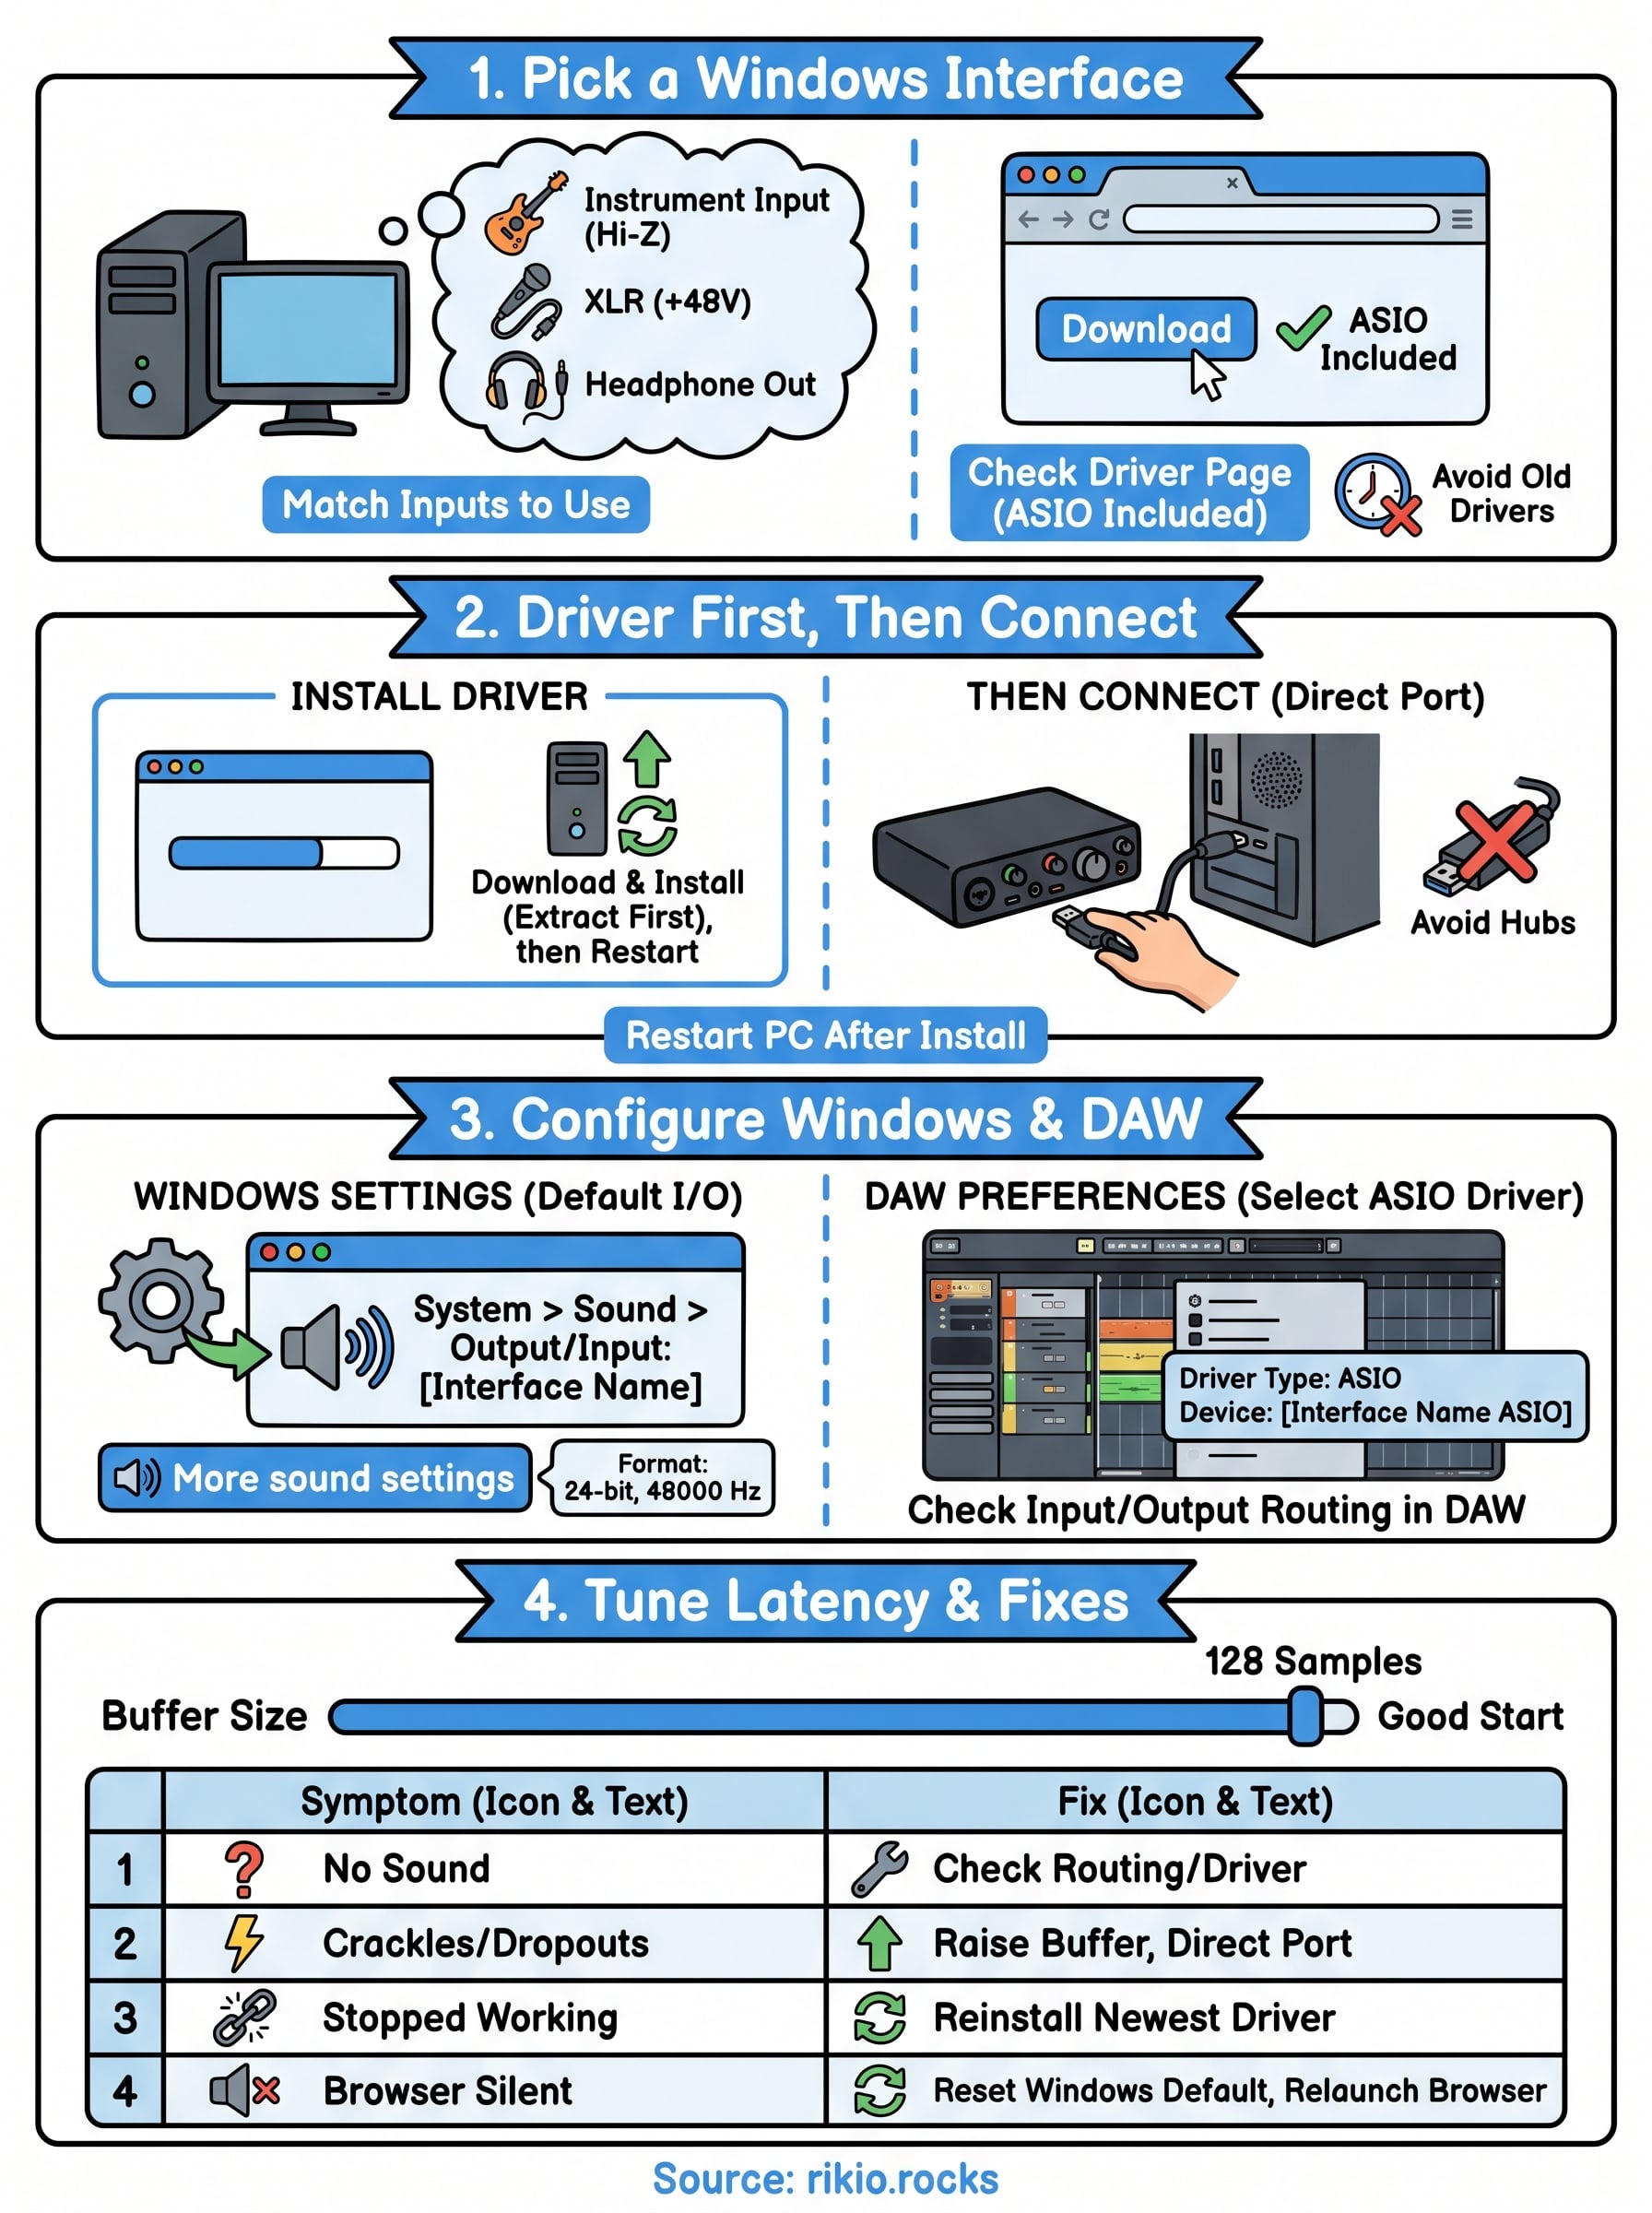
Choosing an audio interface for Windows comes down to a few clear steps. Match the inputs to your recording, confirm the maker supplies ASIO drivers for your version of Windows, install the driver before you connect the unit, and set it as the device in both Windows and your DAW. A buffer of 128 samples is a sound starting point, and the symptom table covers most of what can go wrong.
Once everything is running, play a well-mastered, energetic track through your monitors or headphones to confirm clean output at several volumes. The CARDIO HITS 2026 playlist on Spotify works well for that, and it gives your new setup a real workout before you record your own tracks.
13